Learn soldering electronics by practicing
Introduction
Soldering electonics is hard.
Especially, when it’s not done often.
I remember being frustrated and ruining projects because of my lack of experience and using the wrong tools.
Practice
What I suggest is to practice soldering.
Any way you want is fine. But if the circuit don’t do anything at the end, I think it miss the point.
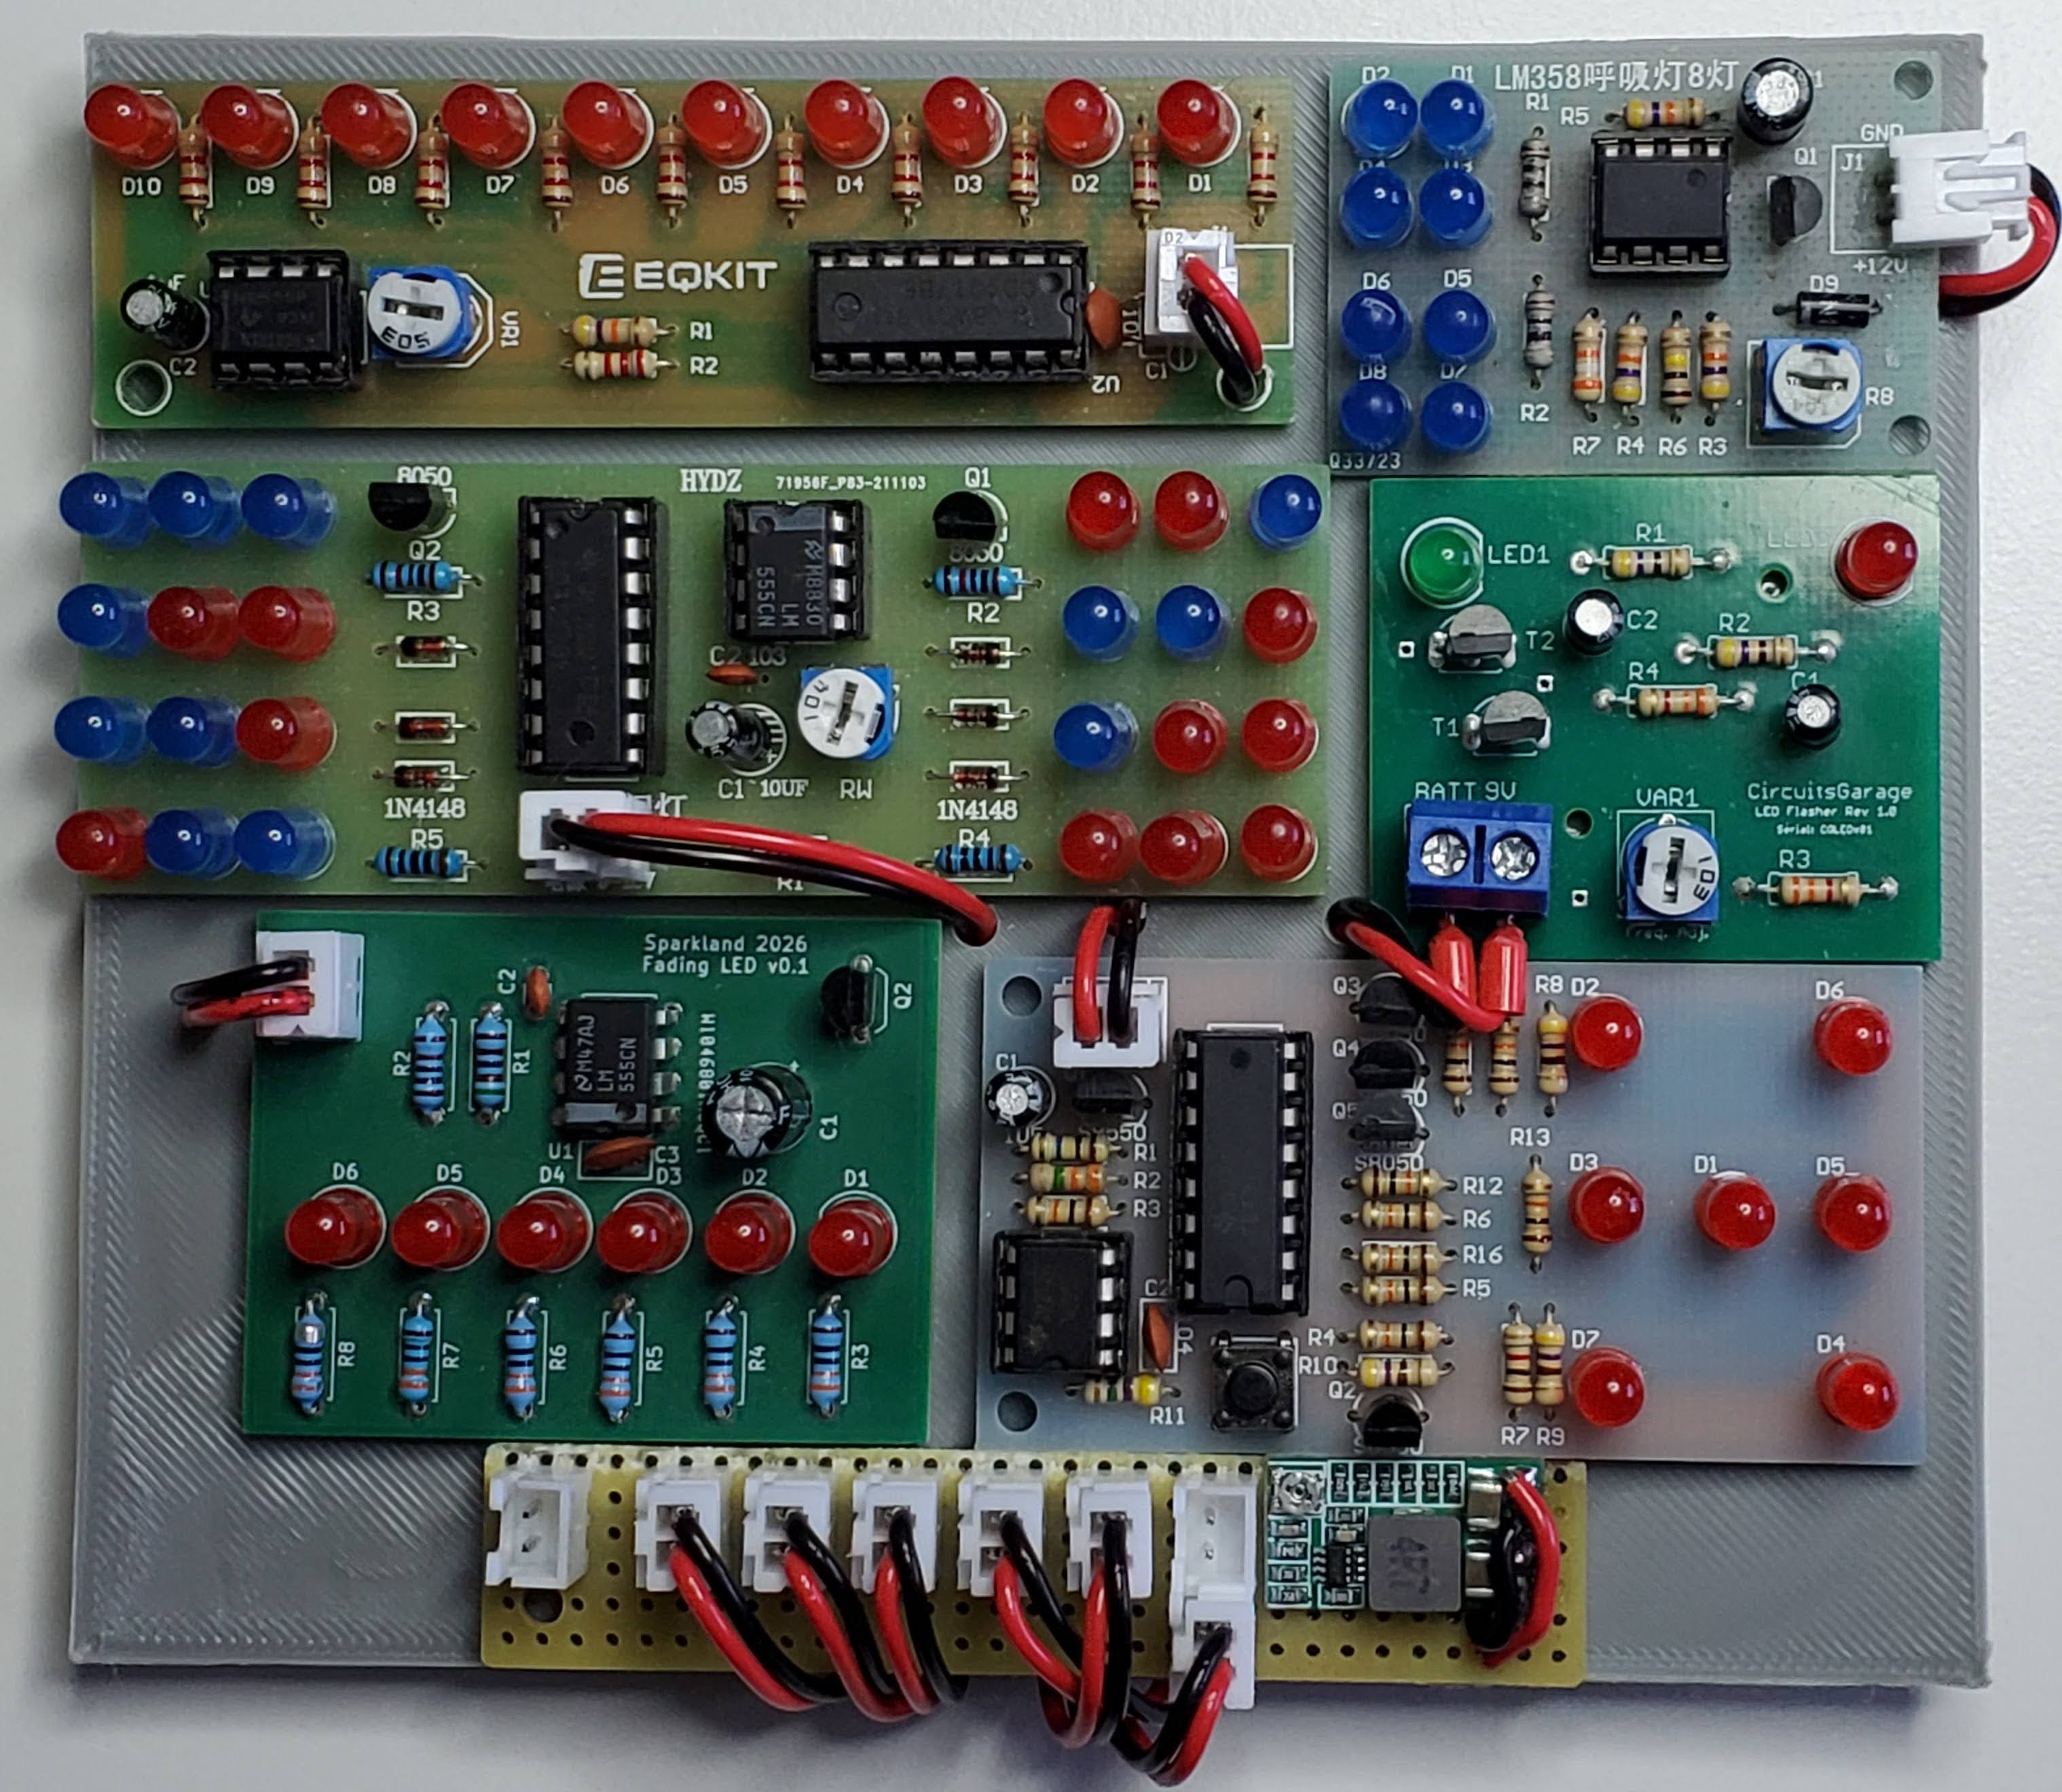
Soldering practice kits
That’s why I’m suggesting to buy soldering practice kits.
After finishing a few, you end up having done hundreds of solder on real circuits and components.
I recommend to find cheap chinese ones on Aliexpress, Ebay or Amazon
You can also support this blog by getting the
practice kit
I sell on Ebay.
I got inspired by the other kits I solder in the past.
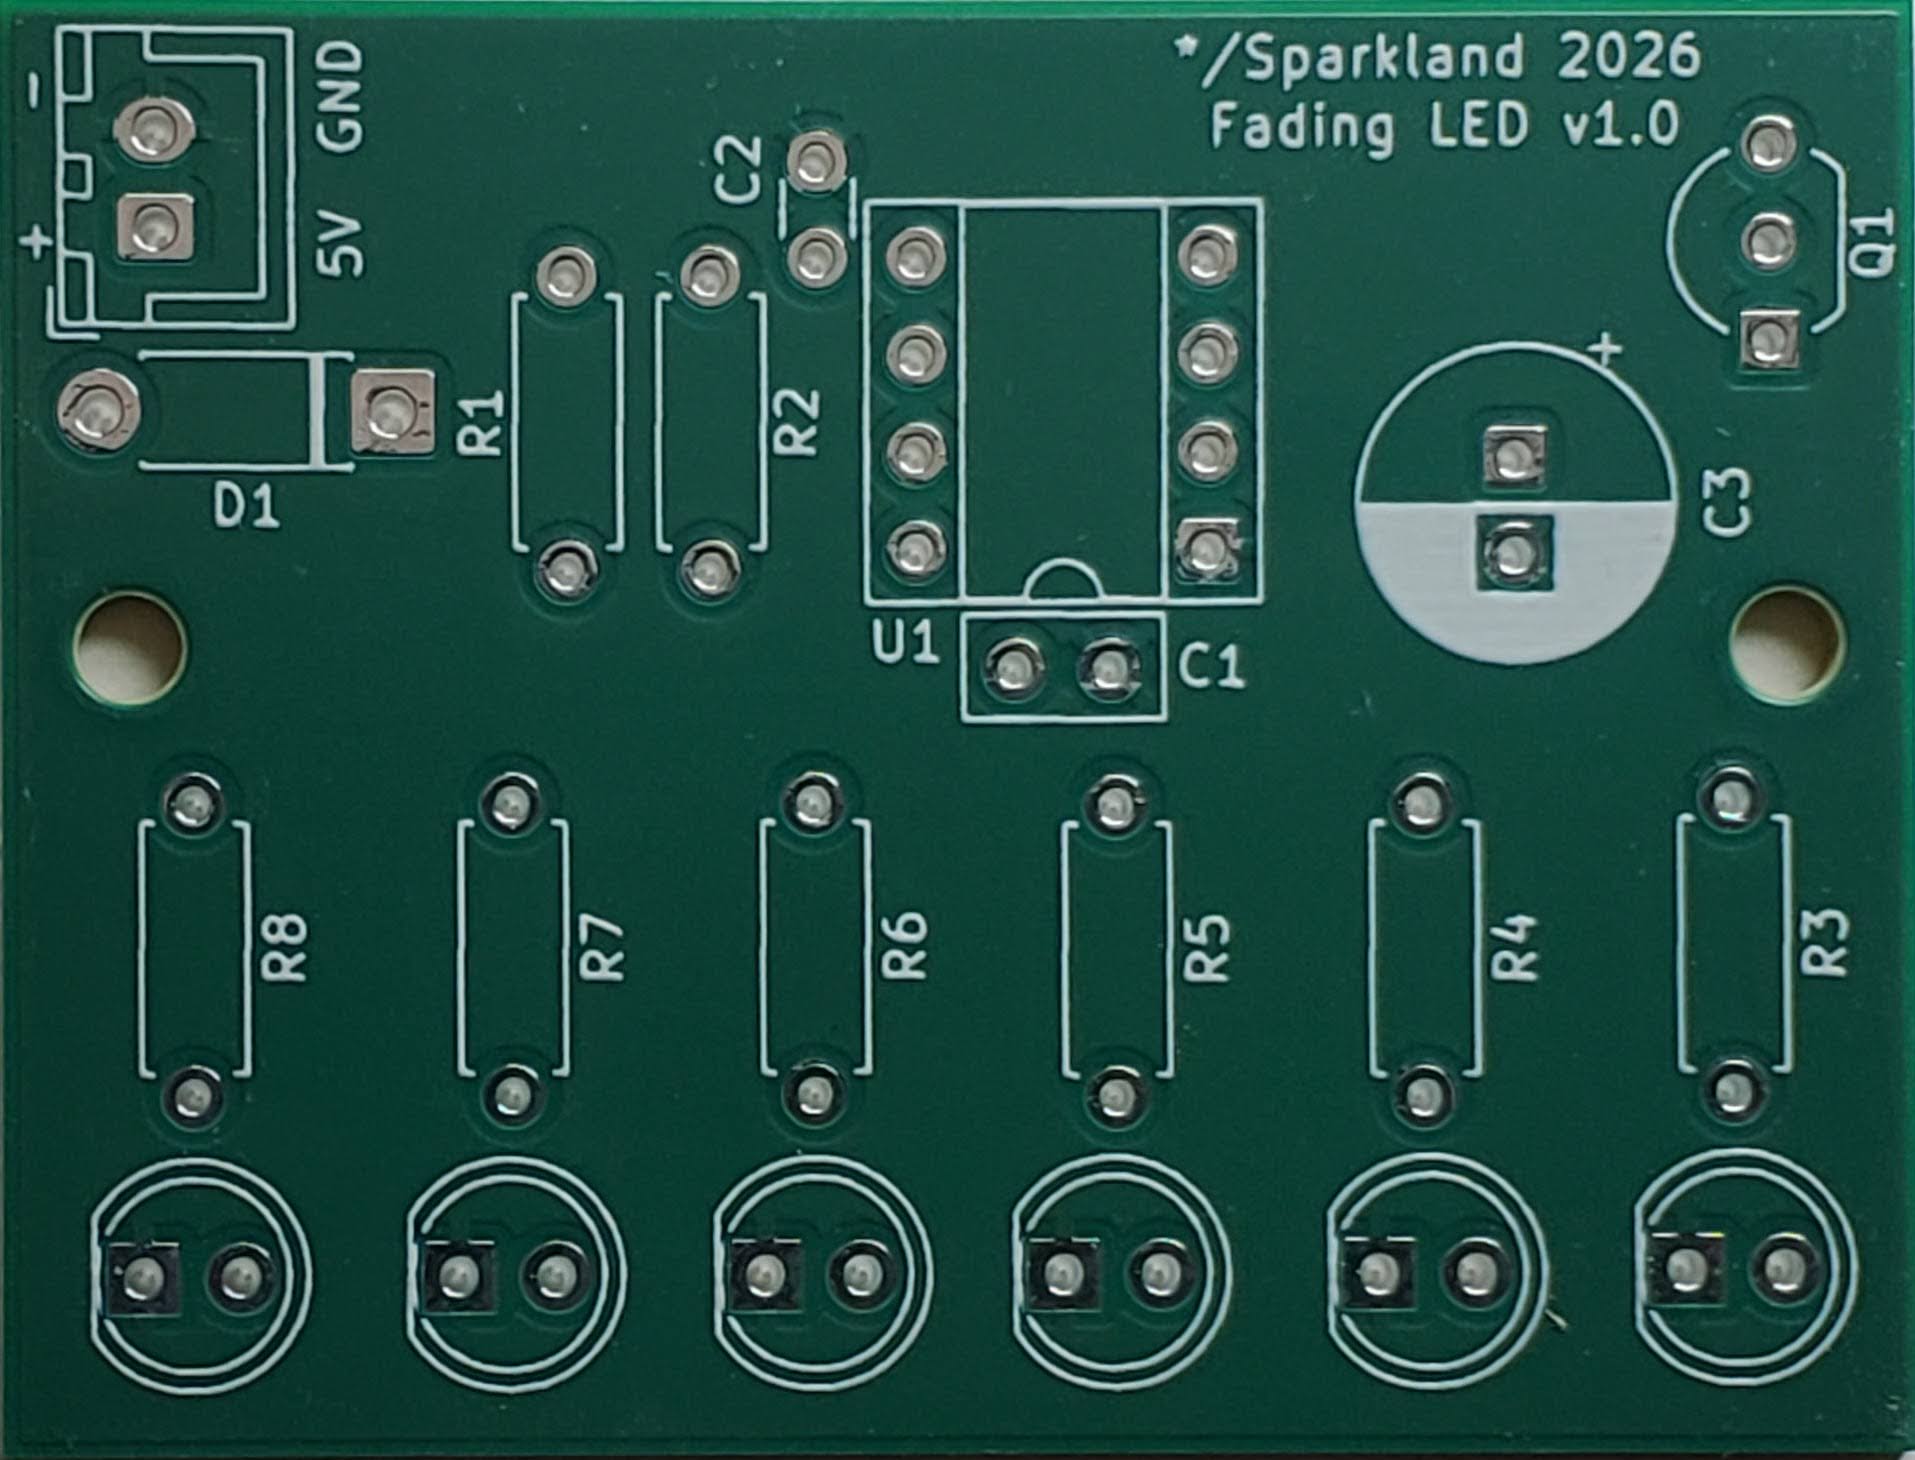
The though of assembling practice kits came to me when I went to the Hackfest, a hackers convention. There was an activity where we had to solder badges (small circuits that lights up). If we succeed, we were handed another one a step more difficult and so on. It was SMD components, which is more difficult in my opinion. I’m suggesting to start with Through Holes Components (THC) but feel free to choose SMD if that’s what you want.
These soldering kit makes interesting gift. The bare-bone PCB with the components looks cool and the flashing, fading, running LEDs create interesting effects.
Technique
I’m not an expert but here’s a few basic tips I learned along the way:
- Wait about 5 minutes after you turned ON your soldering iron to let it heat up.
- Leave a bit of solder on both side of the tip when you solder and before you turn off the iron. It protects the tip.
- When the iron is on the stand, the solder on the tip can becomes brown-ish. Clean it with your metal sponge and reapply solder.
- Start with the smallest footprint component first. Like resistors, diodes, etc.
To solder a component, have already a bit of solder on the tip. Touch the pad on the PCB and on the component lead at the same time.
With the solder wire, add solder on the pad and the lead. Sometimes you have to touch the tip of the iron to start the melting process.
Don’t put to much solder.
If solder don’t flow naturally on the metal parts, add solder paste.
Watch this
this tutorial
for a complete guide.
Equipment
This section contain the minimum tools needed to solder without too much hassle.
Soldering iron - Hakko FX-888D
A lot of people start with cheap irons that we get at the hardware stores. But I would advice against using them.
Maybe it can save the day if it’s the only tool available but don’t rely on them on your journey into electronics.
They are not powerful enough and temperature will likely be unstable.
You need a decent soldering iron like the Hakko FX-888D or a Weller.
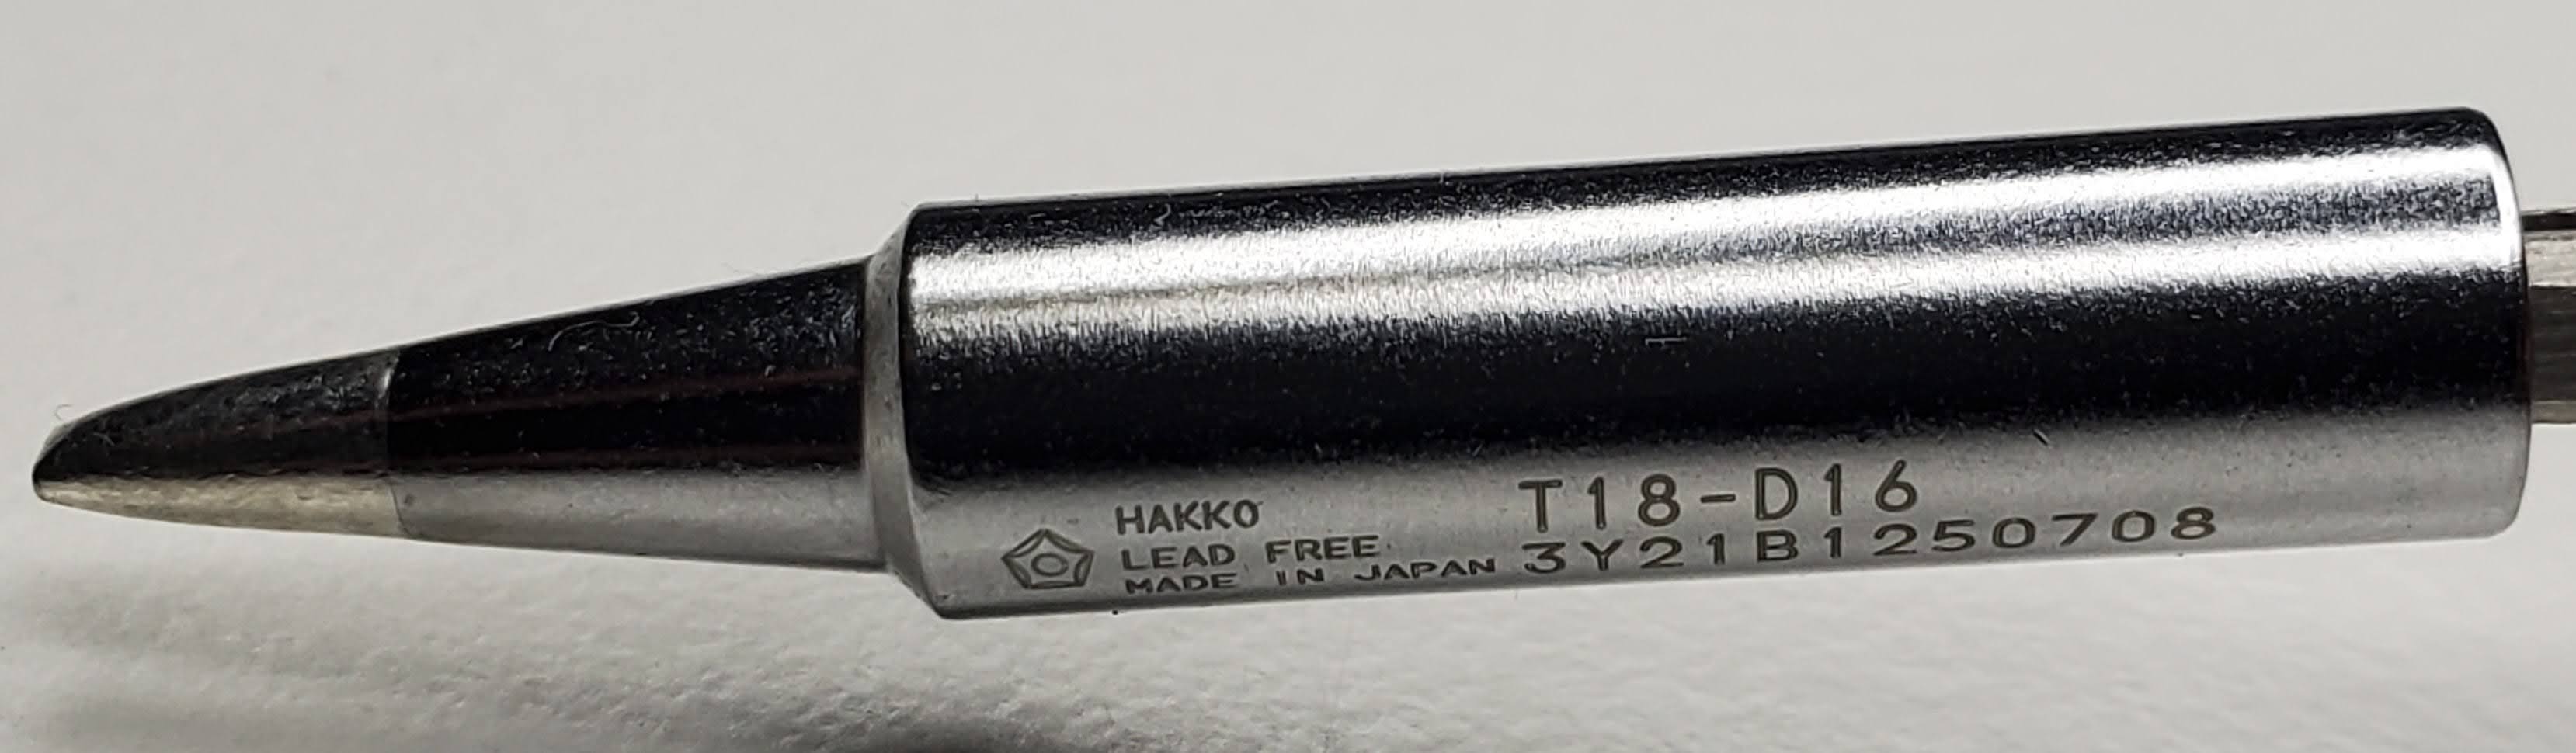
Tip - T18-D16
If I could only choose one tip for the rest of my life, I would go with a small the bezel like the Hakko T18-D16. It even work with SMD.
Solder - 0.38 mm Sn60/Pb40
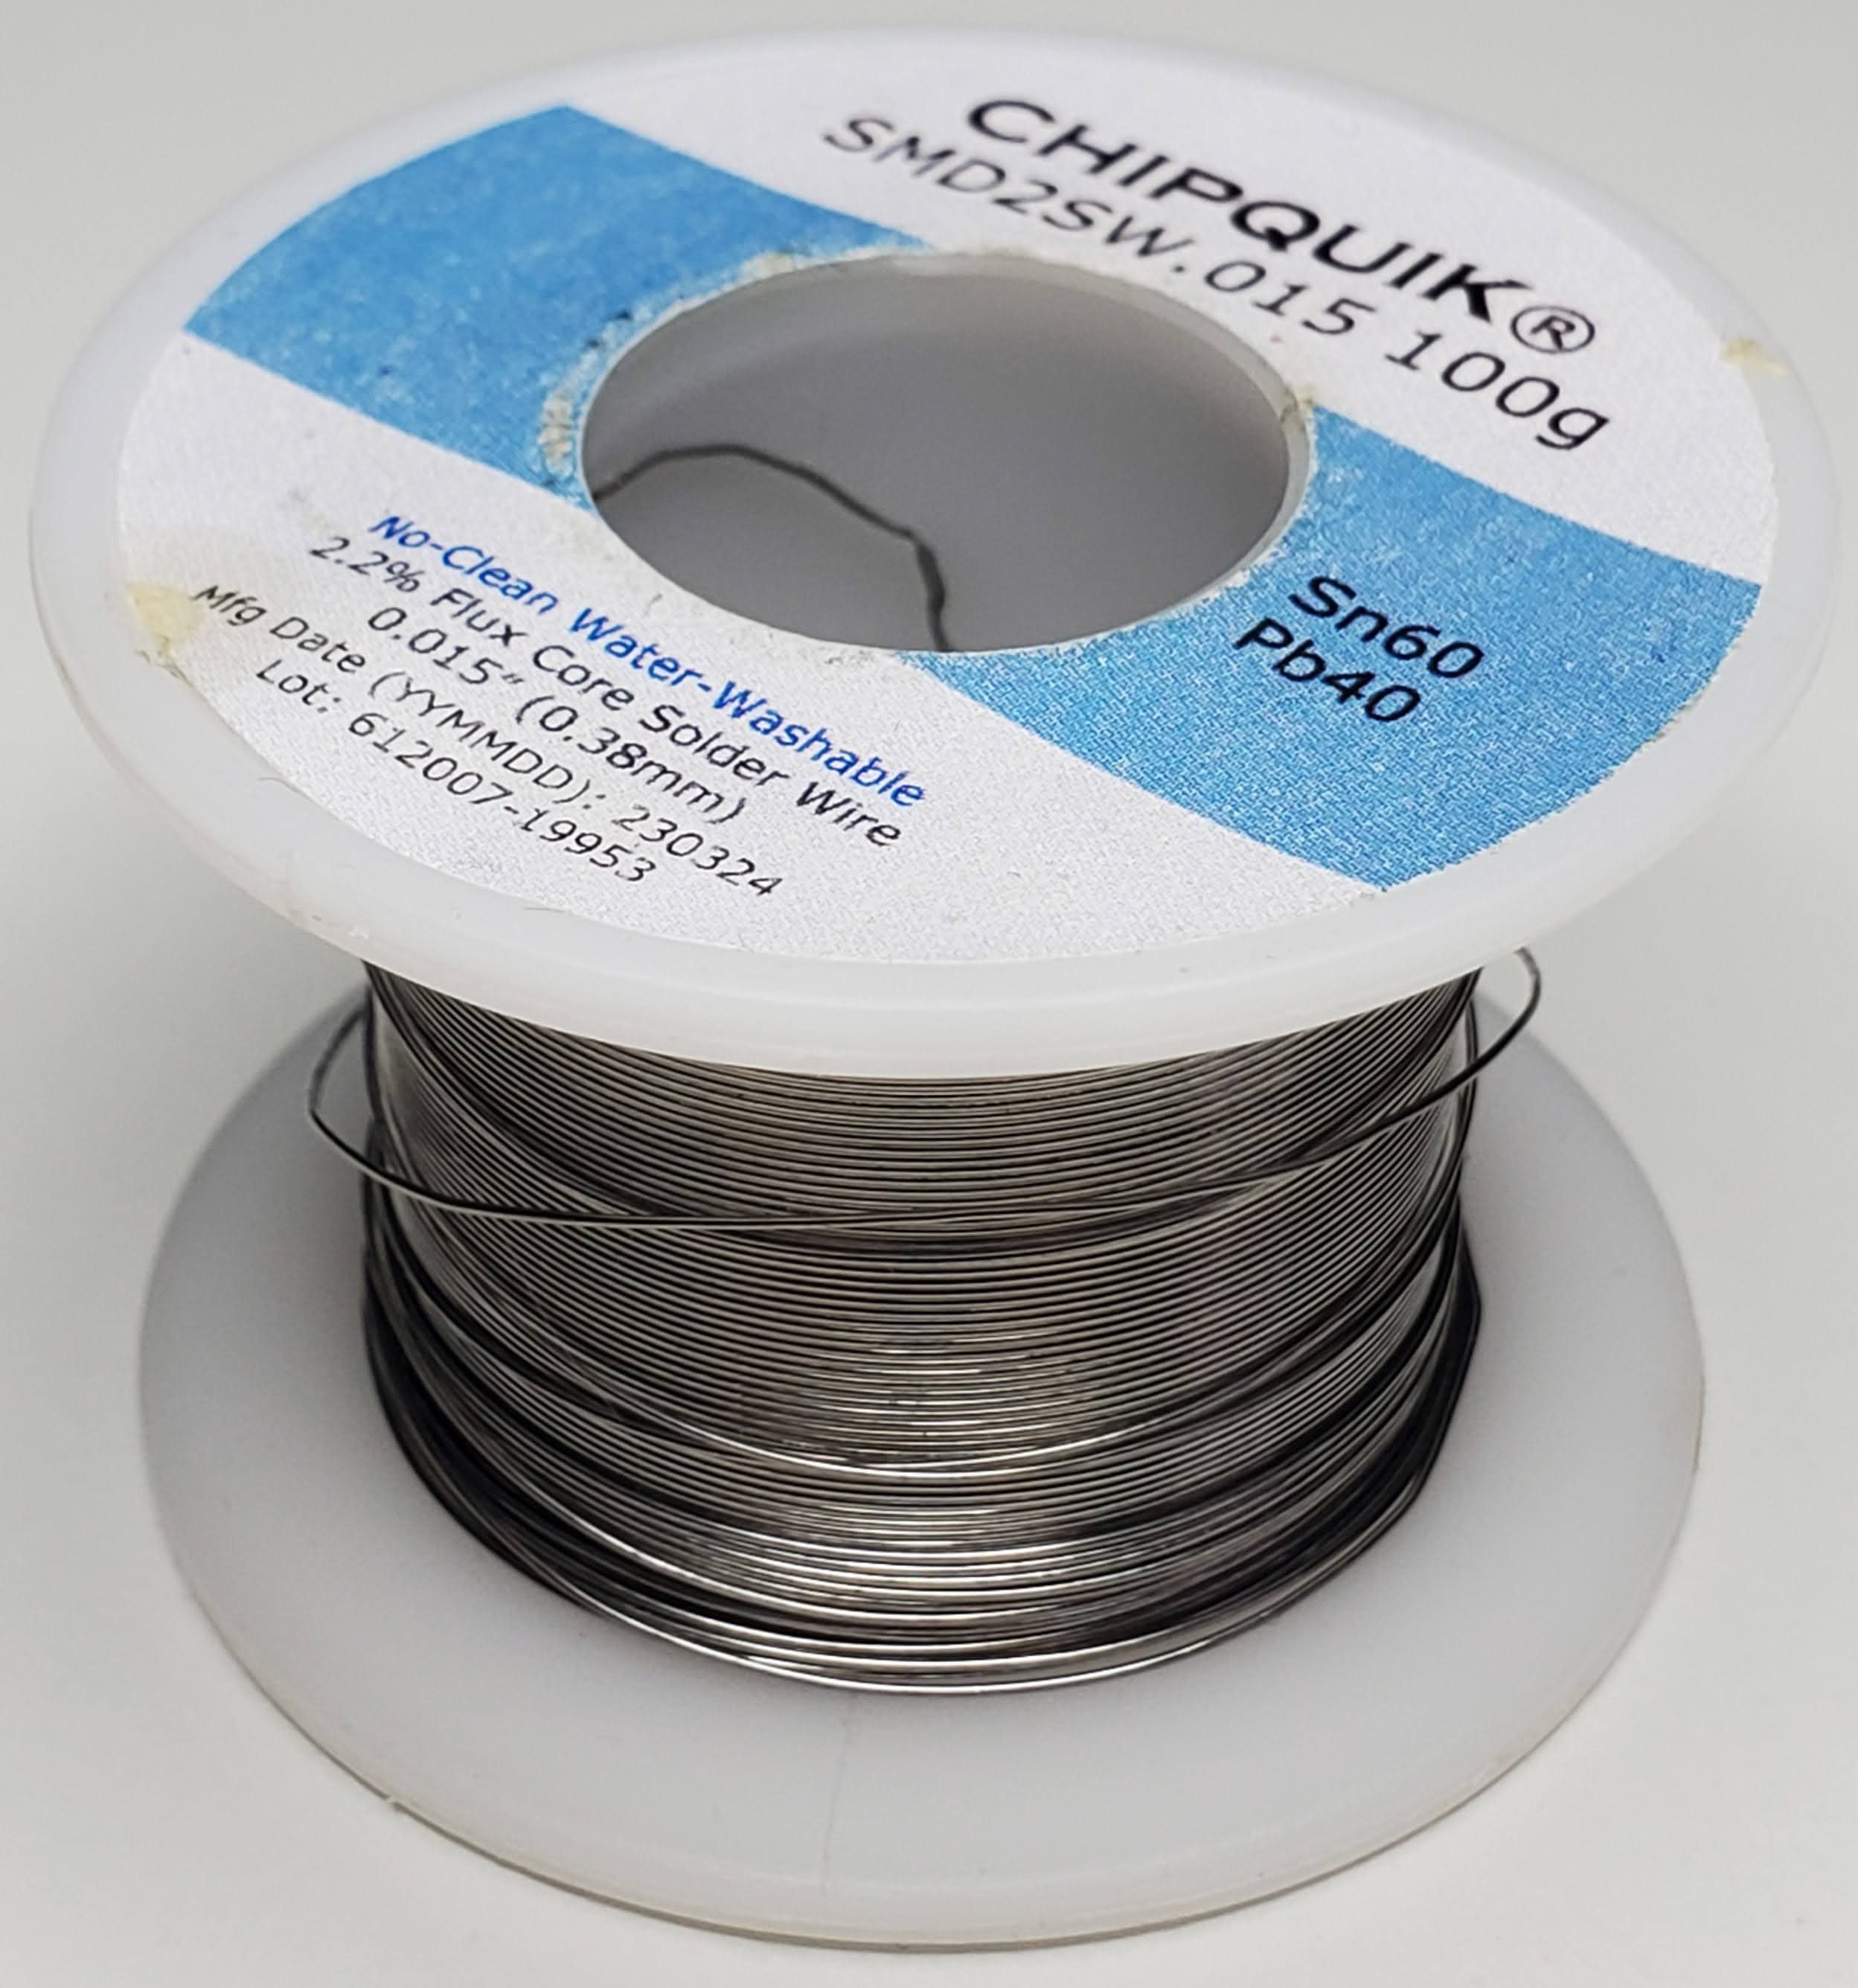
The first spool I got was thick 0.5mm solder. But thin wires it really where the magic reside.
Currently, I’m using 0.015 inch (0.38 mm) Sn60/Pb40. For safety reasons and RoHS compliance, non lead is recommended but I’m use to lead solder and it’s hard to switch.
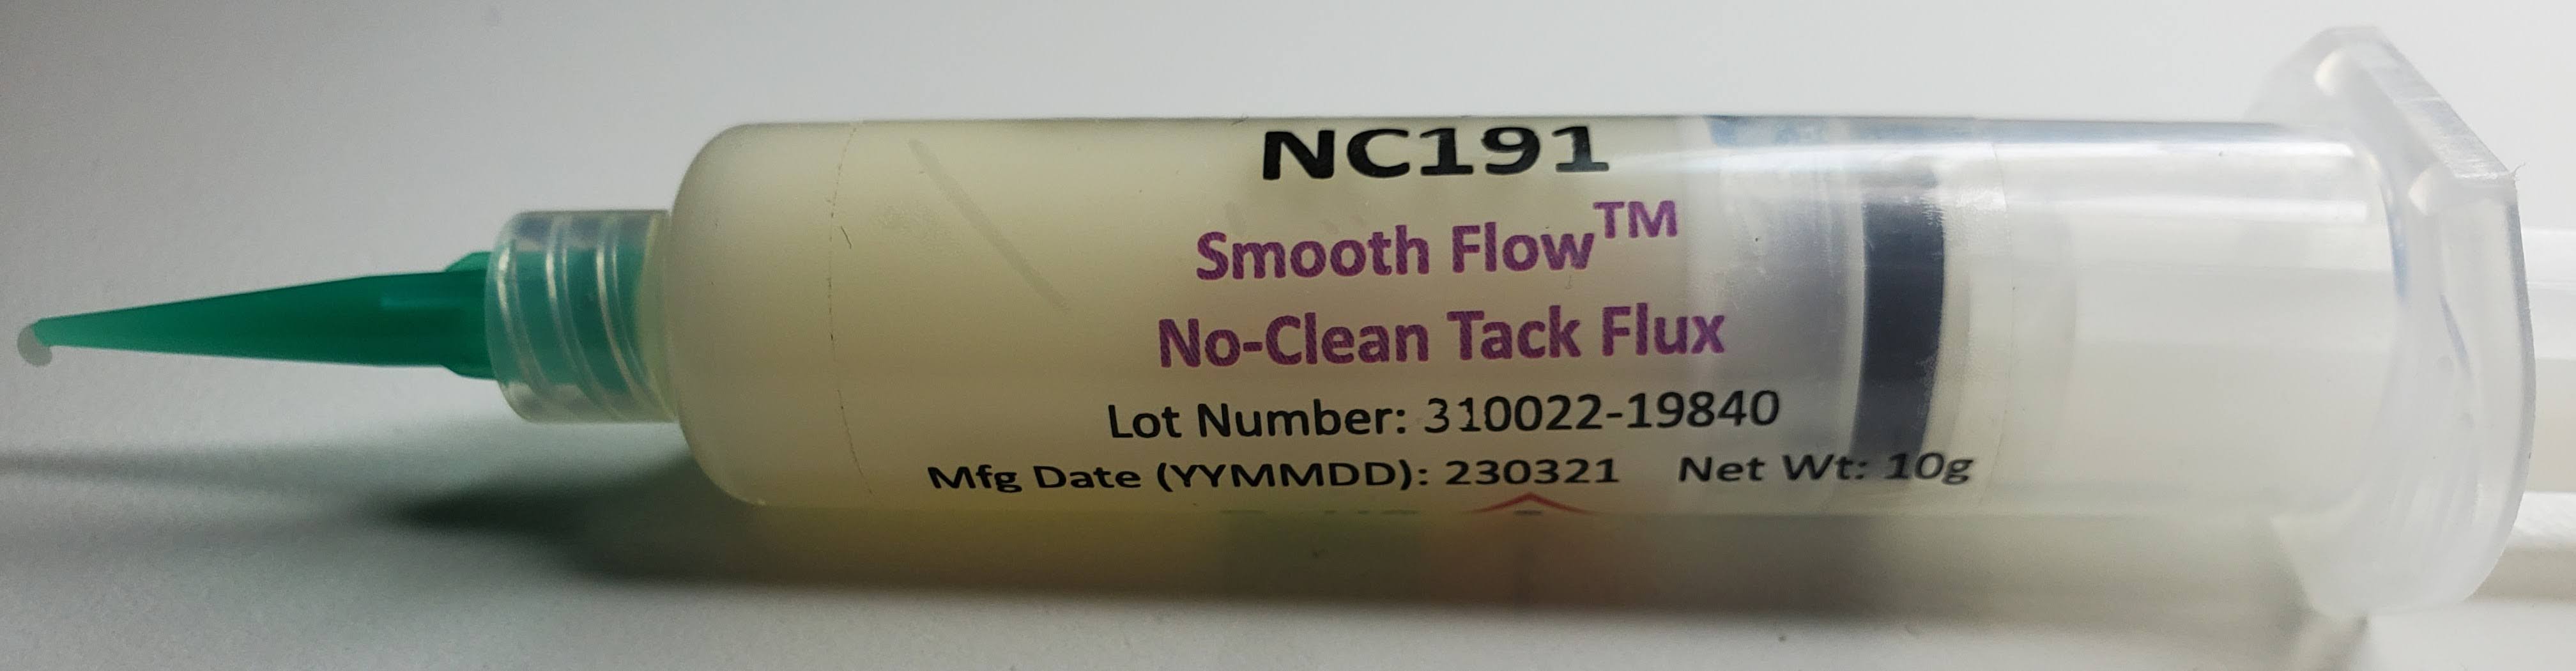
Flux - Non-clean tack flux
Non-clean flux in a serynge is very important for SMD and if you have to repair an older device.
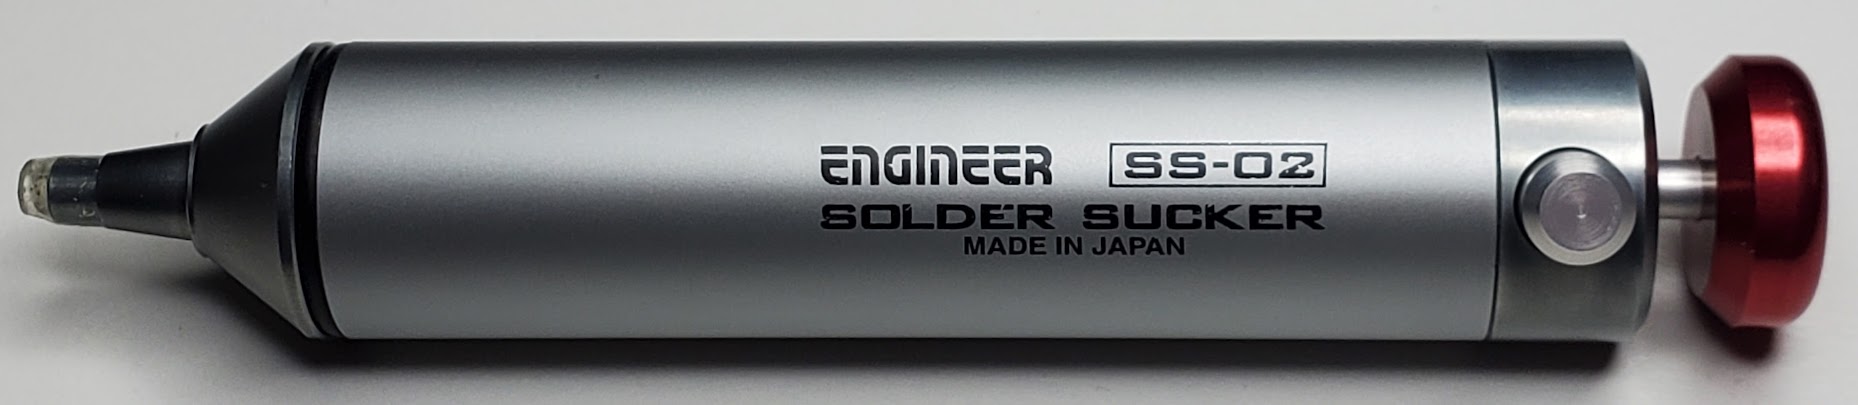
Solder sucker - Engineer Solder SS-02
There’s nothing worse than having to desolder a part and struggling. I’ve bought plenty of regular solder suckers but they break easy and they don’t have good succion.
I was really happy when I found these Engineer japanese ones.
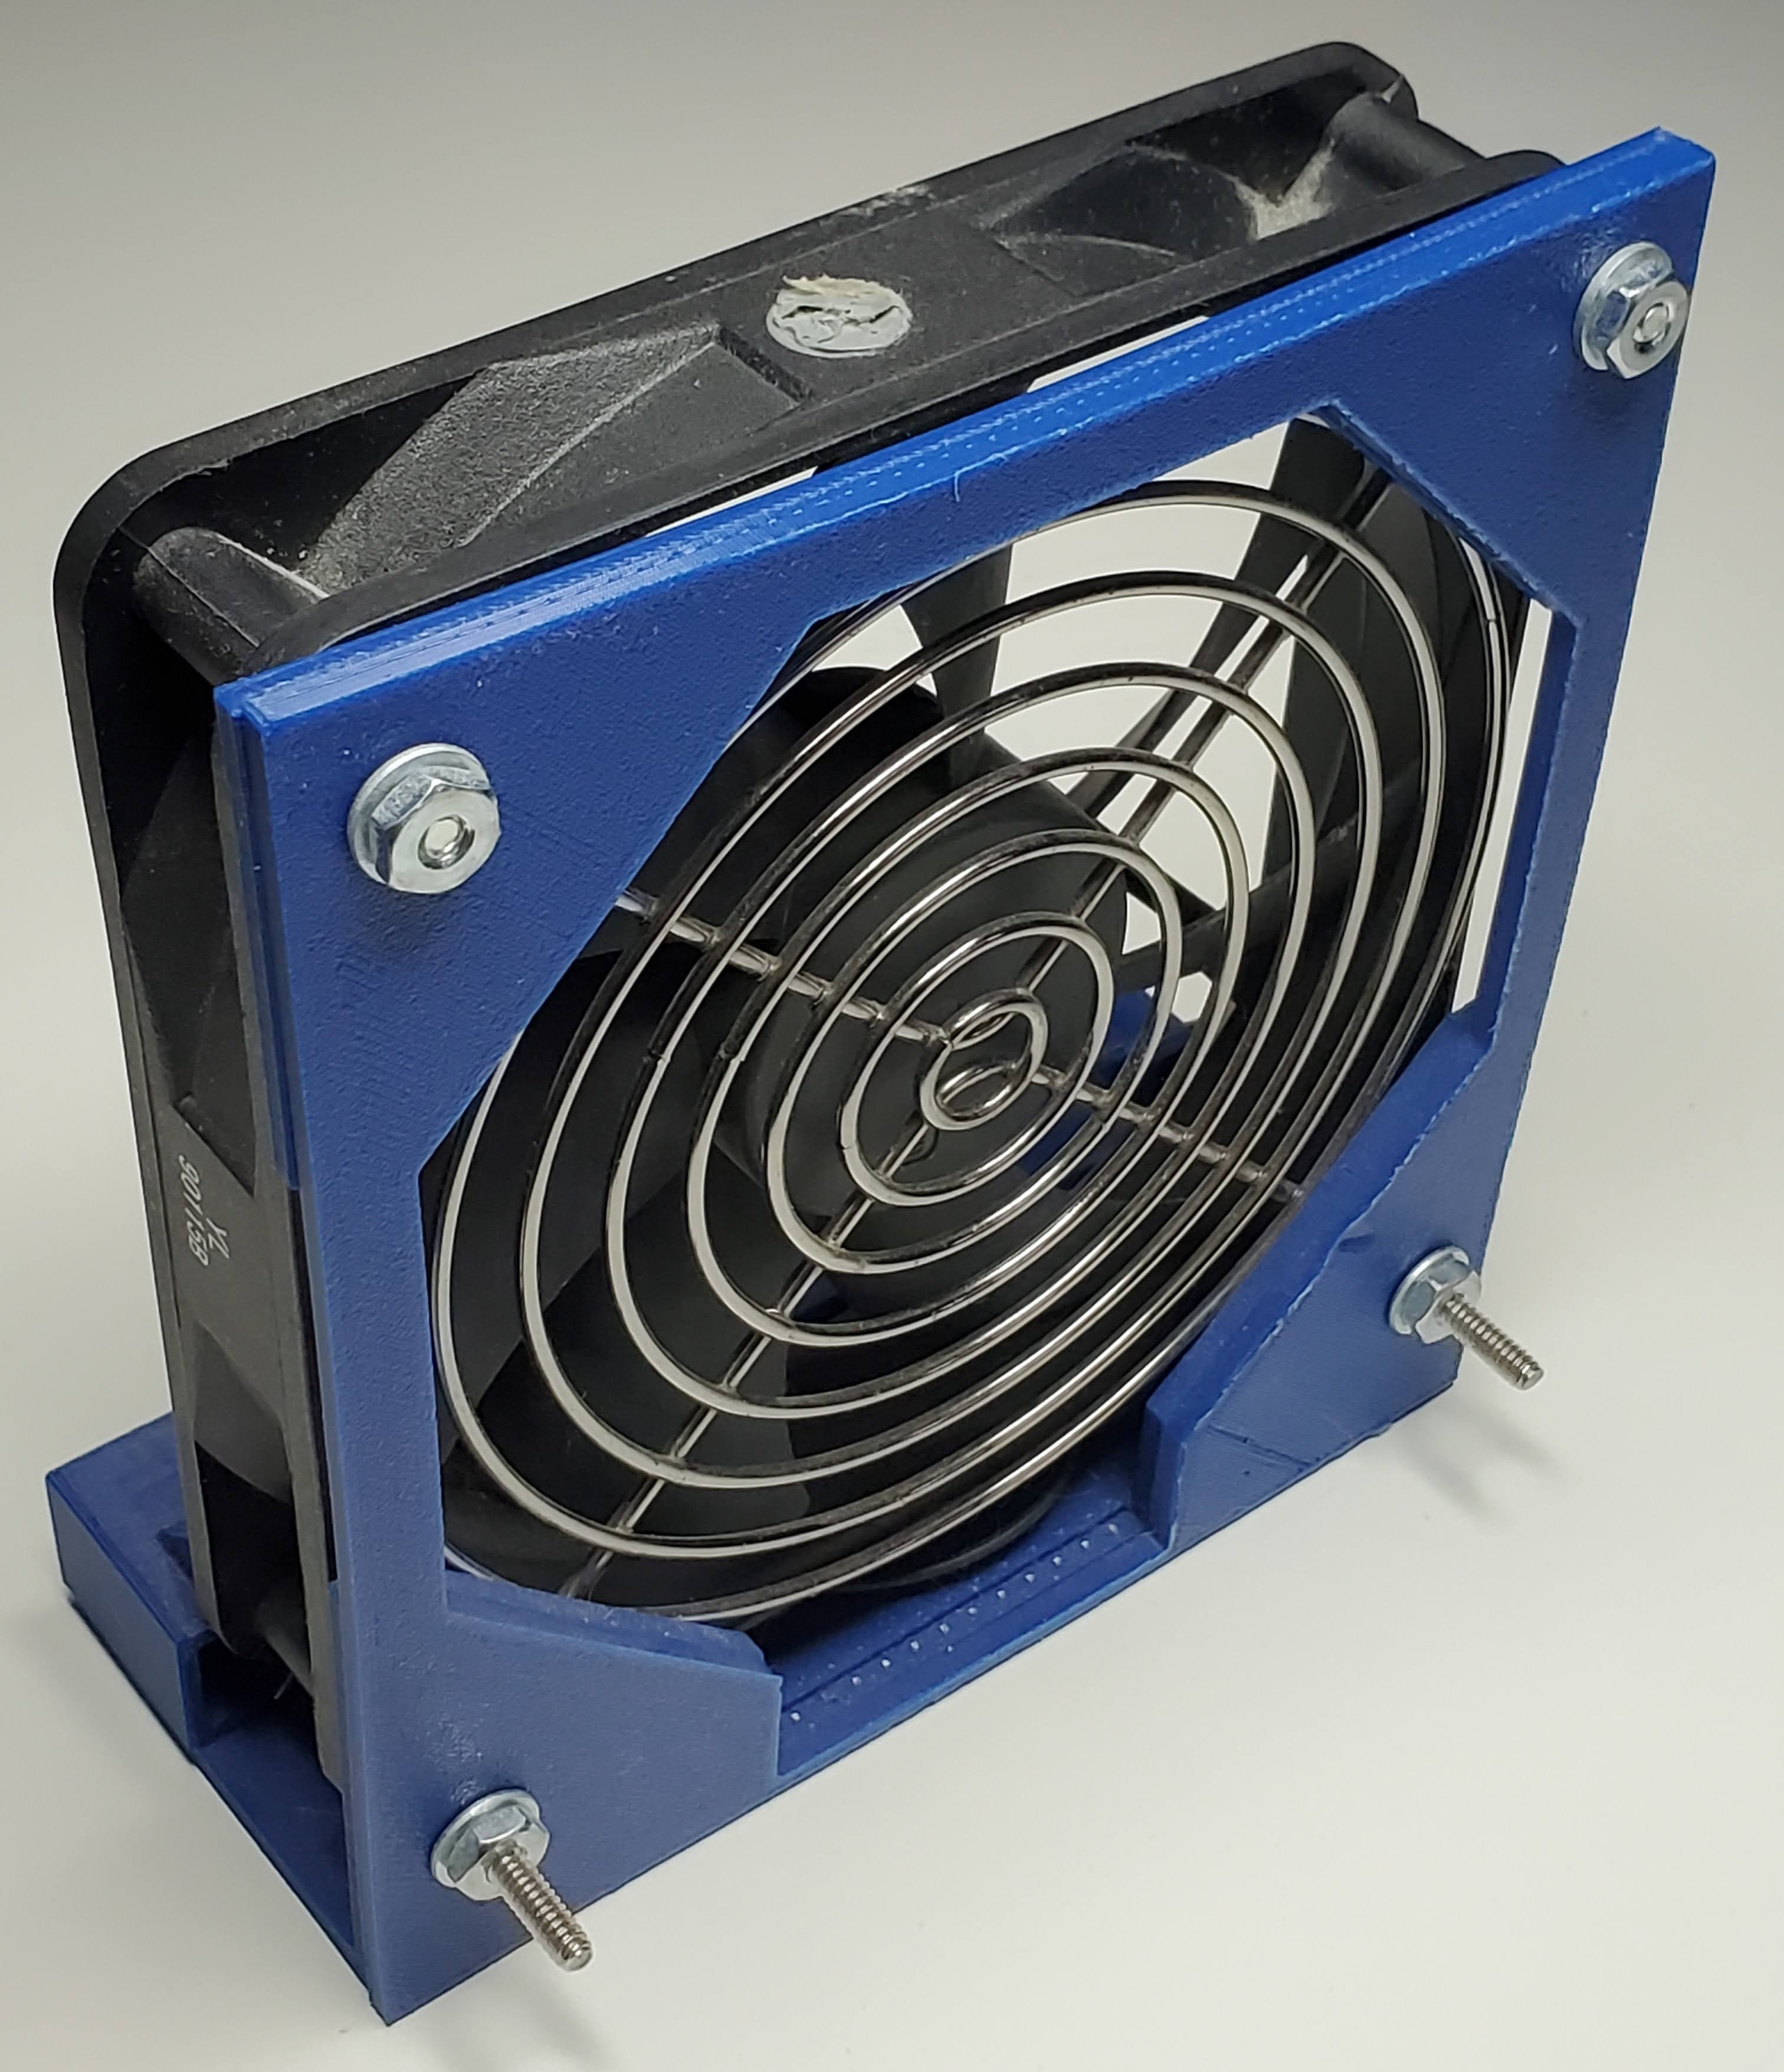
Fume extractor
In my experience it’s really easy to breath the fume from soldering and I don’t think it’s very healthy.
A fume extractor is a must for soldering electronics. I’ve never own a professional one but I’ve been using a PC fan because it works.
Over the years I’ve added a case and an on/off switch.
Later I could add PWM, a variable speed potentiometer, a battery and a carbon filter.
Hand tool
- Non-serated plyers
- Wire cutters
- A lighter
- Isopropyl alcohol
- Q-Tips
Third hand
The dream of having a third hand is real.
Buy a decent third hand it’s really important to hold PCBs and to solder wires.
Good lighting
You’ll need some kind of magnifier light.
Multimeter
A decend multimeter is mandatory to debug and diagnose.
Power
You can use a phone charger, a portable battery, a variable switching supply, a professionnal bench PSU, etc.